

Paver Driveway Installation on a Slope: Base, Drainage & Stability
Paver driveway installation on a slope explained: grade, base layers, downhill restraint, drainage and patterns that keep pavers stable on steep driveways.
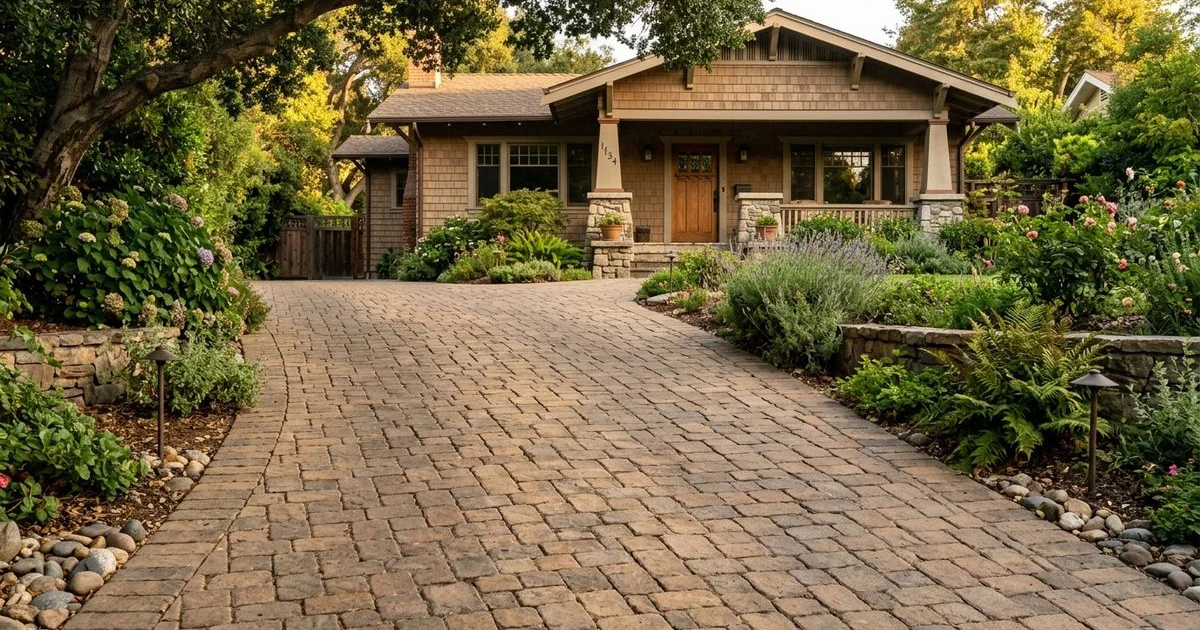
Can you install a paver driveway on a slope? Yes, and it is done successfully on hillside lots across Pasadena and Southern California every year.
But a paver driveway installation on a slope is not the same job as paving flat ground. Gravity pulls on every layer, water runs faster and hits harder, and vehicles add braking and turning forces that flat driveways never see. The sites that succeed share three things: an honest grade, a foundation built for downhill forces and a drainage plan.
This guide explains what changes on sloped ground, which details keep pavers from creeping downhill and when a slope calls for professional design.
How Steep Is Too Steep for a Paver Driveway?
There is no single national number that decides whether a slope works. Suitability depends on your vehicles, your soil, your drainage and your local building department’s rules. What you can do now is measure your grade, because that number drives every later decision.
How to Measure Rise, Run and Percent Grade
Grade is rise divided by run, expressed as a percentage. Rise is how much the ground climbs, and run is the horizontal distance it climbs across. A driveway that rises 3 feet over a 50 foot run has a 6 percent grade, because 3 divided by 50 is 0.06.
You can measure it with a long straight board, a level and a tape measure. Set one end on the uphill ground, hold it level and measure the vertical gap at the downhill end.
A 4 foot board sitting 4 inches above the lower ground reads about an 8 percent grade. A surveyor or contractor can confirm exact elevations when the numbers matter.
Mild, Moderate and Steep Grades
These labels are guides, not legal cutoffs, and cities set their own limits. Mild grades under about 5 percent behave much like flat ground during construction.
Moderate grades, roughly 5 to 10 percent, need deliberate downhill restraint and careful drainage. Steeper ground demands more. Trade literature from the Mason Contractors Association of America notes that interlocking pavement on slopes greater than about 7 percent depends on careful design and proper construction details.
Vehicle comfort matters too. Low cars can scrape where the grade changes quickly, and a steep driveway meeting a flat garage floor creates a sharp angle at the threshold. The transitions at street and garage often matter more than the middle of the slope.
Vehicle Clearance, Transitions and Garage Thresholds
Walk the path your car actually travels. Note where the bumper sits lowest, where the middle passes over a crest and where the rear overhang swings.
Long vehicles bottom out where a steep grade meets flat ground, a problem called poor breakover clearance. Ease these spots with gentle vertical curves, not abrupt angles.
Check the garage slab too, because the finished paver surface should meet the threshold cleanly. A paver driveway installer will shoot elevations at the street, the garage and every grade break before quoting the job.
Why Sloped Driveways Are Different
Paver driveway installation on a slope asks more of every layer than the same work on flat ground. It also asks more than pedestrian paving: walkways and patios carry foot traffic, while driveway installations survive braking, turning and axle loads.
Paver driveways on flat ground mostly carry weight straight down. On a slope, gravity pulls the pavement downhill as well, and every braking car pushes the surface the same way. Industry guidance calls this horizontal or shear force, and it acts on the pavers, the bedding sand, the base and even the soil below.
Water behaves differently too. Rain that would sit on a flat driveway accelerates downhill, gaining speed and erosive power.
It can wash joint sand out, undermine the bedding layer and carve channels along the edges. Where winter rain arrives in bursts, one storm undoes months of slow damage.
| Slope issue | Why it matters | What prevents it |
|---|---|---|
| Downhill creep | Pavers slowly shift toward the street under braking and gravity | Positive downhill restraint and full interlock |
| Joint sand loss | Open joints let water into the bedding layer | Angular joint sand, stabilizer and refilling |
| Base washout | Water flowing through the base carries fines downhill | Geotextile separation and side drainage |
| Edge erosion | Fast runoff undercuts the sides of the pavement | Compact, contained edges and safe discharge |
| Uneven settlement | Weak subgrade spots sink under wheel loads | Compaction in tested lifts |
Site Assessment Before Any Digging
A sloped driveway succeeds or fails before the first shovel hits the ground. The assessment answers three questions: what is the soil like, what is buried and where the water goes.
Soil Type and Compaction Suitability
The soil under the driveway, called the subgrade, is the foundation’s foundation. It has to be understood first.
Much of the Pasadena area sits on clay-heavy soils that hold water and shift as they wet and dry, and hillside terrain adds loose fill. Hillside lots can also contain loose fill placed decades ago. Fill and expansive clay both need attention; a pavement is only as stable as the ground below it.
A contractor evaluates it by looking and probing, sometimes by lab testing. Soft or organic soil gets removed and replaced, and what remains is compacted in thin lifts. Guidance published by the Mason Contractors Association of America calls for compaction to at least 98 percent of standard Proctor density for residential driveways.
Density is checked lift by lift. That number comes from a lab test of how densely a soil can pack. It separates a driveway from a future repair.
Call 811 Before You Dig
Utility lines often cross front yards and run under driveways. Slopes concentrate them near retaining walls and street cuts.
Call 811 a few business days before any excavation, because this free national service marks underground gas, water, power and communication lines. Hitting a line is dangerous, expensive and avoidable.
Map Water Flow and Elevations
Stand in the rain, or study the last storm’s evidence. Note where water enters, where it speeds up, where it ponds and where it leaves. On a slope, the goal is to intercept water before it gains speed and give it a safe path away from the house and garage.
Elevation planning ties this together. The finished surface must sit below the garage floor, drain away from structures and meet the street cleanly, so elevations are decided on paper first. Photograph everything now; those photos help every professional who bids the job.
Foundation Layers for a Sloped Driveway
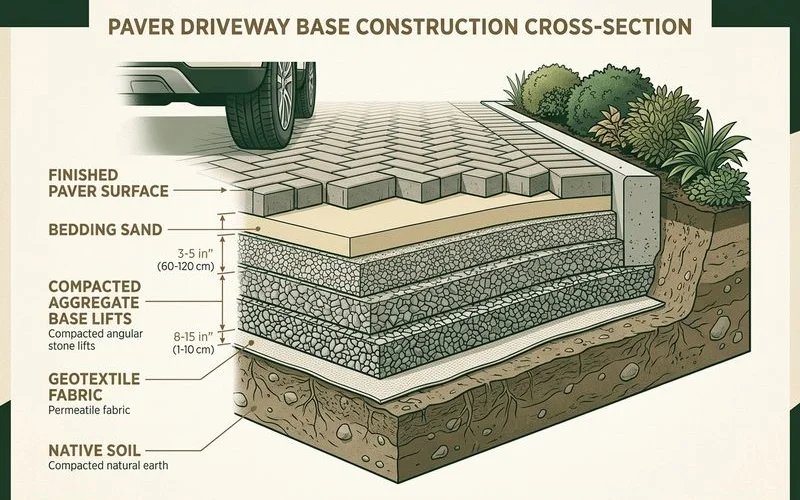
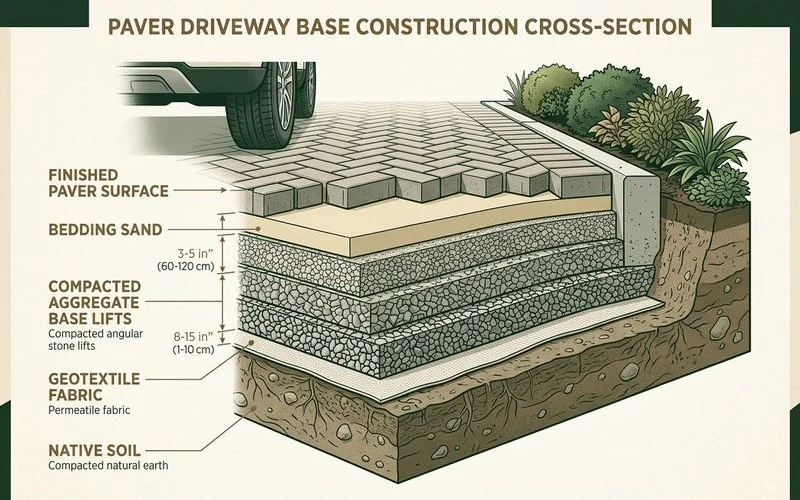
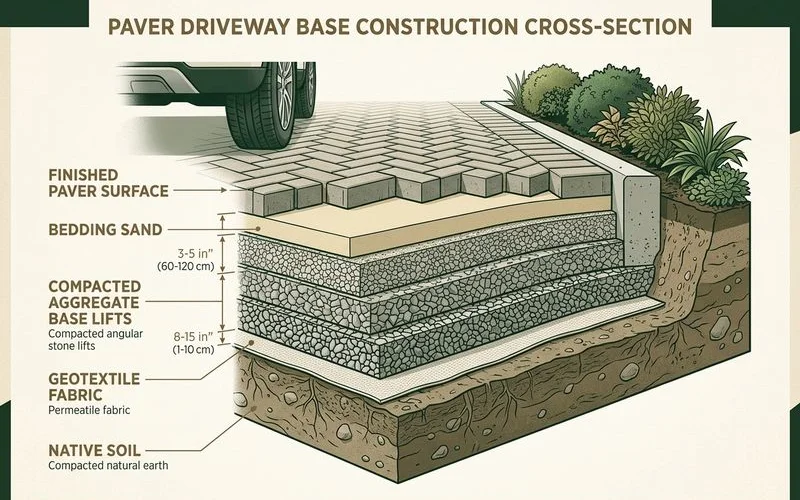
A paver driveway is a layered system, and on a slope every layer has an extra job: resisting the downhill pull. Here is the stack from the ground up, with the reason each layer matters more on a grade.
| Layer | What it does | Why it matters more on a slope |
|---|---|---|
| Compacted subgrade | The native soil, shaped and compacted | Carries the whole system against gravity and braking |
| Geotextile fabric | Separates soil from base stone | Stops base stone from migrating into wet soil |
| Aggregate base | Crushed stone compacted in lifts | Spreads vehicle loads and resists downhill shear |
| Bedding layer | About 1 inch of screeded concrete sand | Lets pavers seat evenly; must drain on a slope |
| Concrete pavers | Vehicle-rated units, at least 60 mm thick for residential driveways | Interlock turns many small units into one surface |
| Joint sand | Angular sand swept into tight joints | Locks units together; the first thing storms attack |
| Edge restraint | Concrete curbs and a downhill beam | The line of defense against creep and spreading |
Two details deserve emphasis. The base is compacted in lifts of a few inches at a time, because a compactor can only densify so much material in one pass. And the bedding sand is a thin leveling layer, never a thick cushion.
On steeper work, a coarser, well-draining sand resists movement better. Industry guidance recommends concrete sand meeting ASTM C33 for bedding and finer angular sand meeting ASTM C144 for joints. Angular grains lock together, while rounded river sand rolls.
How Do You Stop Pavers from Creeping Downhill?
This is the question that defines paver driveway installation on a slope. The answer is restraint: physical barriers that take the downhill load so the pavers do not have to.
Plastic garden edging, the kind sold for walkways and flower beds, is not designed for vehicle loads on a grade. A sloped driveway needs restraint built from concrete.
The Downhill Toe Restraint
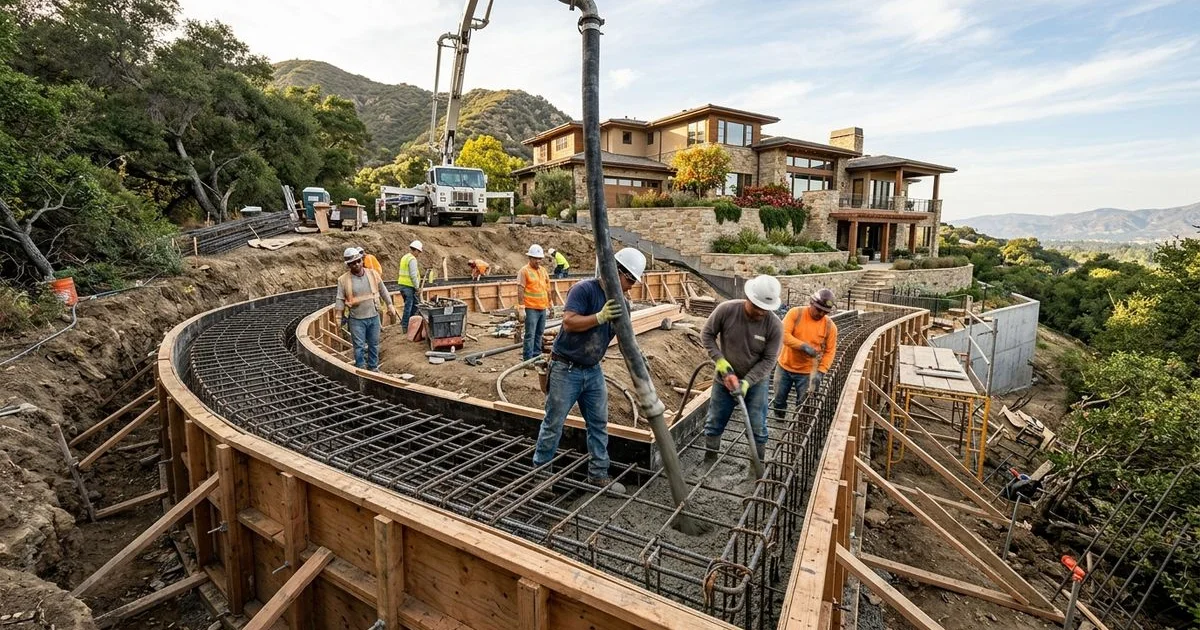
The most important element is the toe restraint, a concrete beam buried at the bottom edge of the pavement. It works like a chock block behind a wheel: every pound of downhill force lands on this beam. Steep-slope guidance from the Mason Contractors Association of America describes a concrete header beam at least 6 inches wide and 12 inches deep, reinforced with steel and cast in strong concrete for the pavers to lean against.
That beam is not a decorative border. It is structural, sits on compacted base and is sized to the slope and loads. On demanding sites, an engineer sets its exact dimensions.
Lateral Edge Support on Both Sides
The sides of the pavement need the same seriousness, because a driveway under braking pushes outward as well as downhill. Cast concrete curbs, anchored into compacted base, keep the field from spreading.
On a slope these curbs also act as small dams, keeping bedding sand and base stone from migrating. They must be continuous, with gaps only where water escapes, and their alignment gets checked as the field is laid.
Transverse Beams on Long or Steep Runs
Very long slopes can pile up more downhill force than one toe beam should carry. In those cases, designers add transverse beams: buried concrete ribs crossing the driveway at intervals, each catching a share of the load.
Think of them as switchbacks for force. Whether a driveway needs them is an engineering judgment based on grade, length and soil.
When You Need an Engineer
Call in a civil or geotechnical engineer when the grade is steep, the driveway is long or the soil is expansive clay or loose fill. The same applies when retaining structures are involved or the city asks.
Engineering fees are small next to the cost of rebuilding a failed driveway. On hillside lots, the engineer’s letter is often what the building department wants to see anyway.
Best Paver Patterns and Materials for Slopes
Pattern is not just aesthetics on a slope. It changes how forces move through the surface.
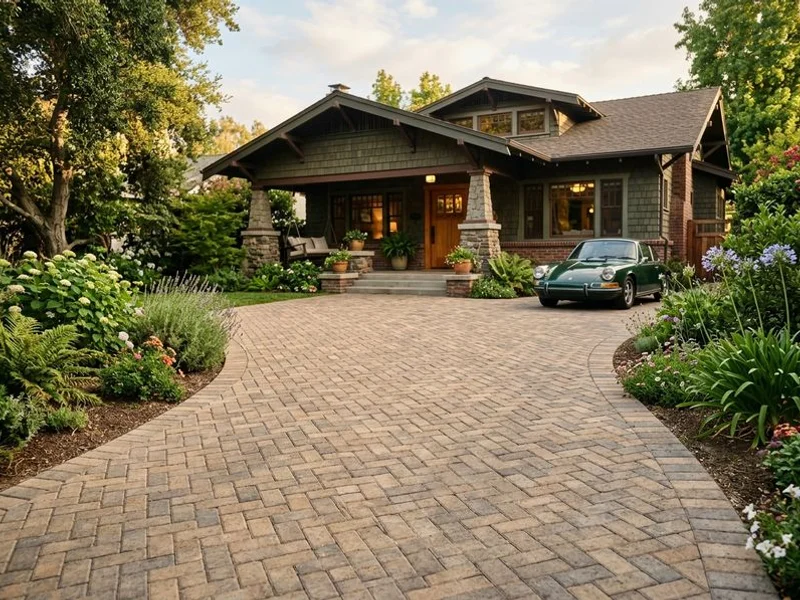
Industry guidance is direct: herringbone is recommended for steep work because it resists braking and turning forces better than other patterns. Running bond and random patterns are best avoided on steep driveways.
| Pattern | Interlock under vehicle loads | Suitability on slopes |
|---|---|---|
| Herringbone (45 or 90 degree) | Excellent; units lock in every direction | The standard choice for driveways on grades |
| Basket weave | Moderate; relies on joint sand | Acceptable on mild grades only |
| Running bond | Weakest against traffic-direction forces | Avoid on sloped driveways |
| Large-format slabs | Poor; fewer joints, less interlock | Keep these on patios and walkways |
A 45 degree herringbone has a bonus on grades: it encourages surface water to shed toward the sides instead of running straight downhill. It does require more cutting at the edges, which shows up in labor time.
Material choices follow the same logic. Use vehicle-rated concrete pavers at least 60 mm (about 2-3/8 inches) thick, made to ASTM C936, and favor textured surfaces over polished ones.
Thin tile and porcelain units belong on decks and patios, not under vehicles. Texture matters for traction when the pavement is wet, which is exactly when a steep driveway needs it. Units with spacer bars also help, because their joint geometry adds grip.
One warning: pattern never substitutes for structure. Herringbone on a weak base still fails.
Drainage and Erosion Control on a Slope
If restraint is the muscle of a sloped driveway, drainage is its immune system. Most slope failures are really water failures: joint sand washed out, bedding saturated, base softened, edges undercut. The plan has three jobs: slow the water, collect it and send it somewhere safe.
Slow the Water Down
Speed is the enemy, because fast water erodes and slow water does not. A minimum 2 percent cross slope, meaning a slight tilt across the width of the driveway, pushes rain toward the sides as sheet flow.
Without that tilt, water sprints down the wheel tracks as a channel. Gentle transitions at the top and bottom keep runoff from launching or ponding at the breaks, which otherwise causes soil erosion at the edges.
Channel Drains, Catch Basins and Swales
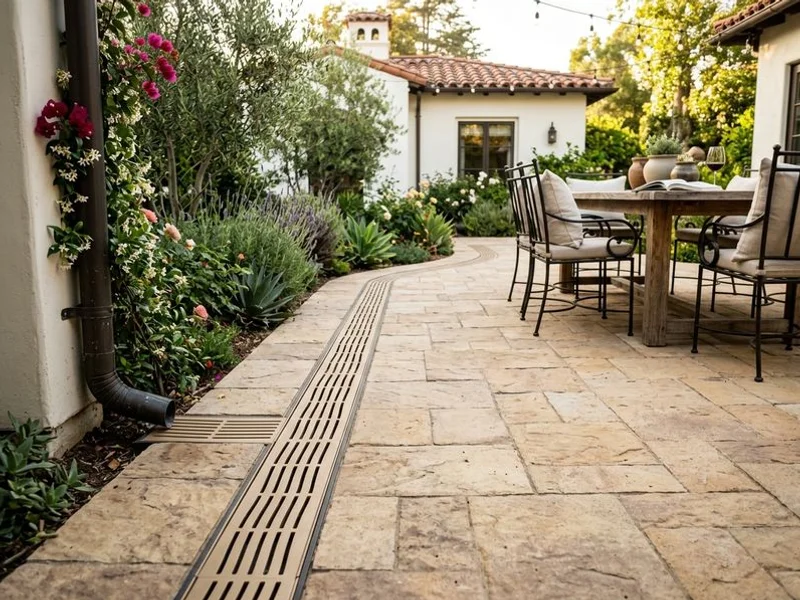
Where water concentrates, give it a designed exit. A channel drain, the long grated trench crossing many driveway aprons, intercepts sheet flow before it reaches the garage.
A catch basin collects water at low points and sends it through pipe to a safe outlet. A swale, a shallow planted ditch along the edge of the pavement, slows and spreads runoff, and a dry well can hold collected water where soils drain well. The right mix depends on the lot, and the discharge point must be legal: collected water has to go somewhere that does not flood a neighbor or the street.
Do Permeable Pavers Work on Slopes?
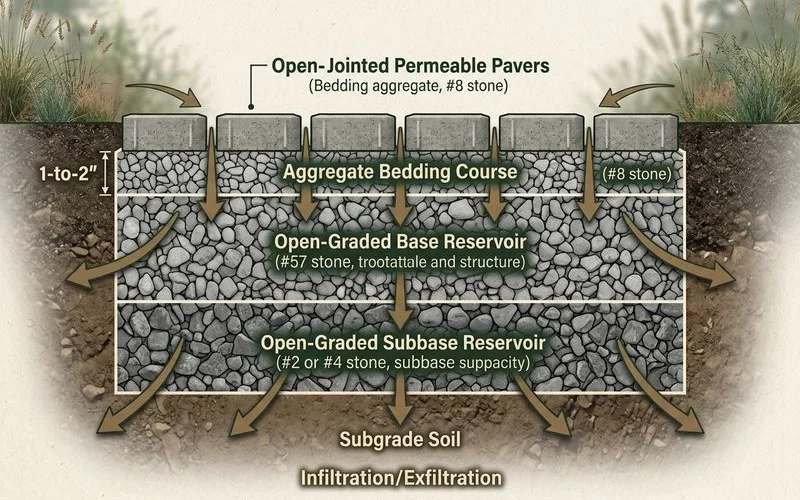
Permeable interlocking concrete pavement, which lets rain soak through open-graded joints into a stone reservoir, is recognized by the US Environmental Protection Agency as green infrastructure that reduces stormwater runoff. On slopes, though, it has a catch.
Water that enters the pavement near the top of a hill travels downhill inside the base, and it can pop out, or daylight, at the bottom. Steep sites need terraced sub-bases, internal check dams or underdrains to manage that flow, so permeable design on a grade is specialist work.
How Installation Works on a Sloped Driveway
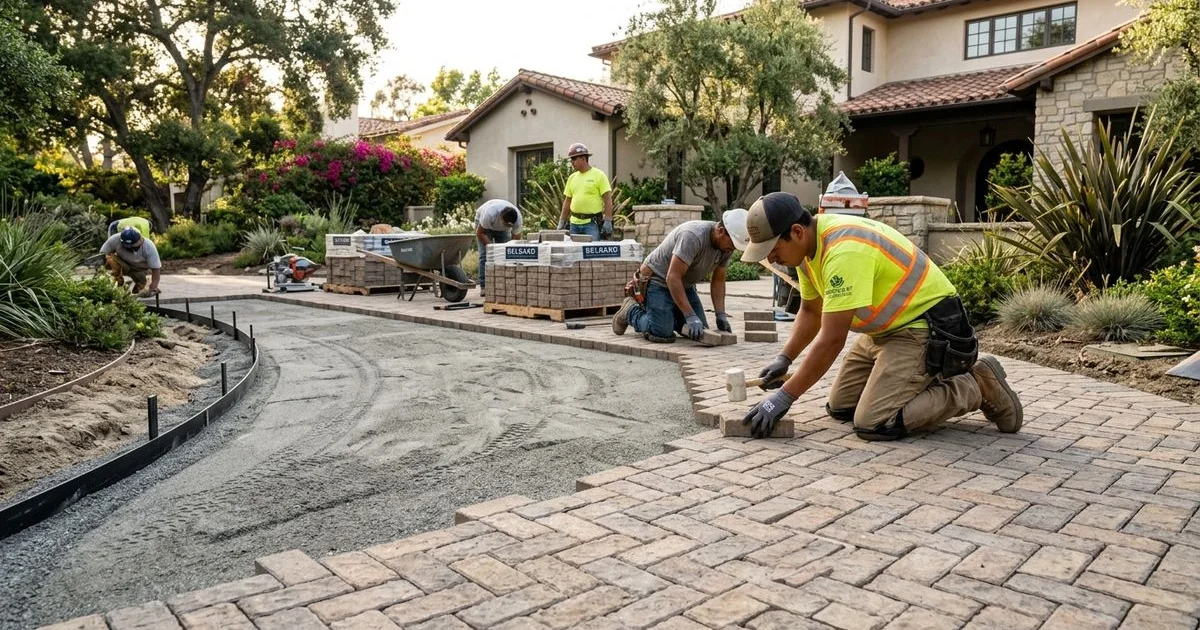
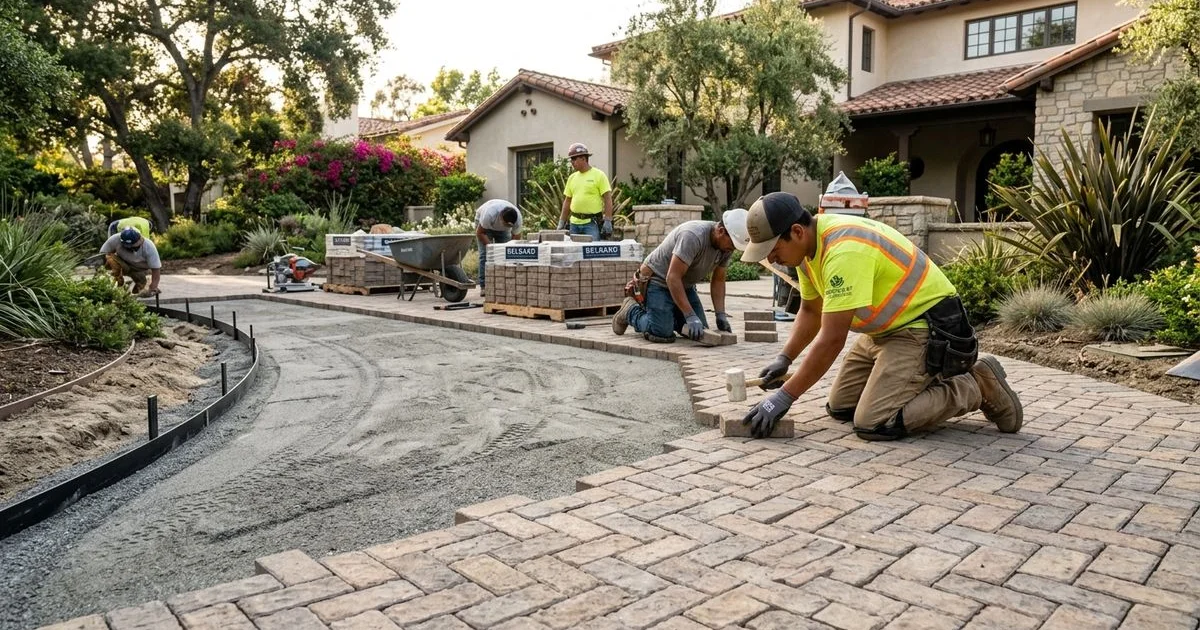
A professional driveway installation on a grade follows a consistent logic. Here is the overview:
- Assess and survey. Confirm soil, utilities, elevations, water flow and the finished height at the garage and street.
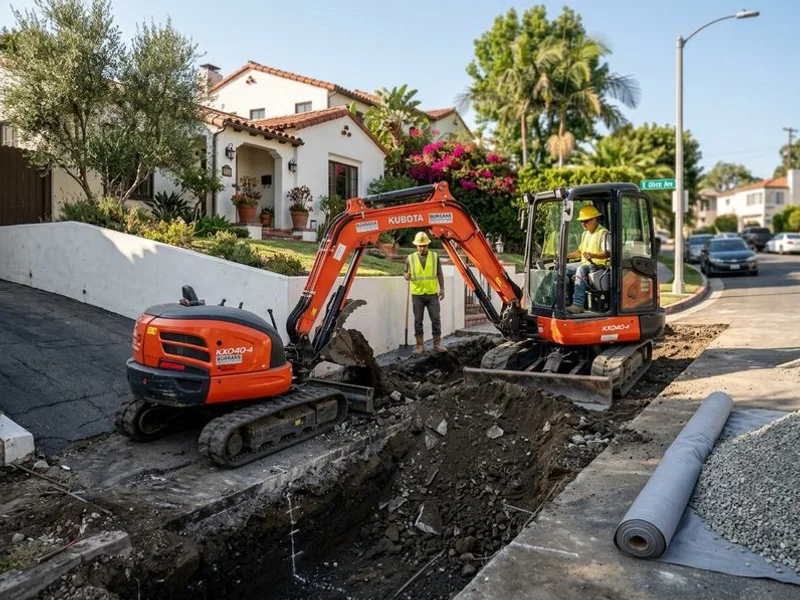
- Excavate to design depth. Remove weak or organic soil and dig deep enough for the full layer stack.
- Prepare the subgrade. Shape it, moisture-condition it and compact it in lifts, with density verified where the job calls for it.
- Place geotextile where needed. Separate soil from base so the stone stays where it belongs.
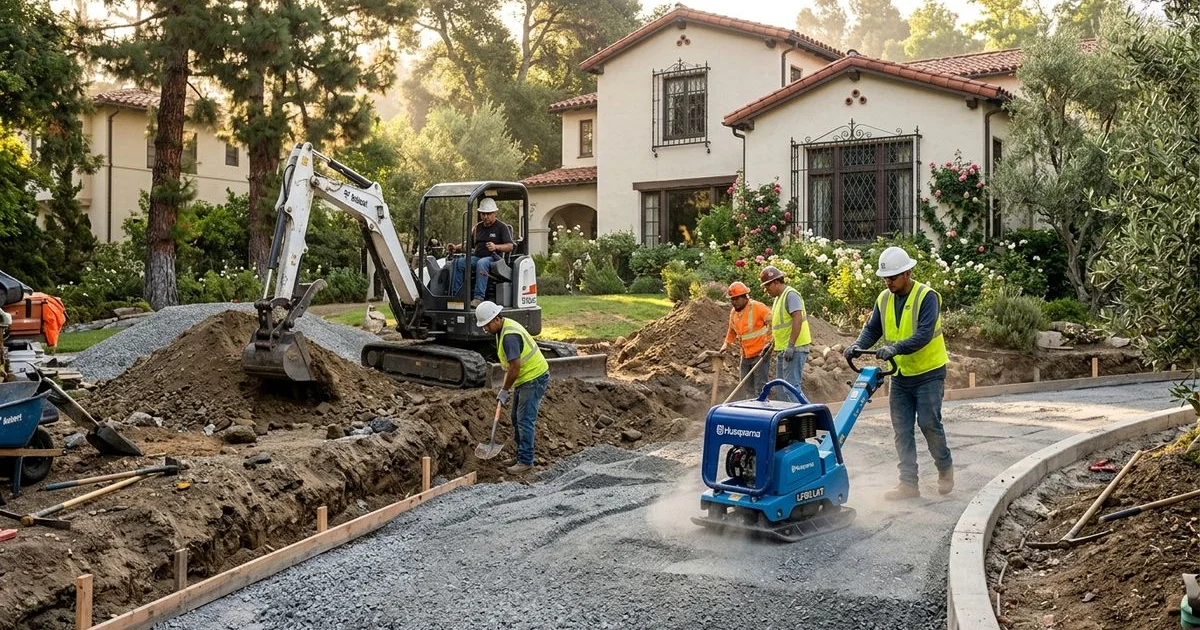
- Build the base in lifts. Spread crushed aggregate in layers a few inches thick, compacting each one before the next.
- Set the restraints first. Pour the downhill toe beam and side curbs and let them cure before the field is laid.
- Screed the bedding. A thin, even layer of concrete sand, placed only as far ahead as the crew will pave that day.
- Lay uphill from the toe. Pavers go down starting at the downhill restraint and working up the slope, in the chosen pattern, with tight consistent joints.
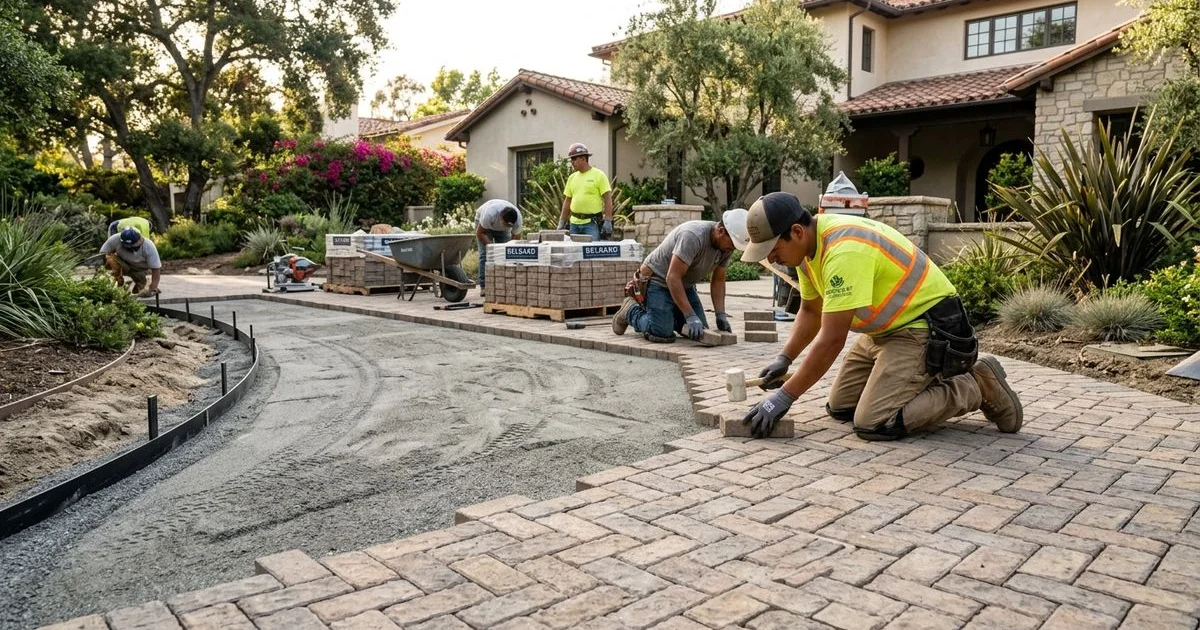
- Compact and fill joints. Plate compactors with a protective mat seat the pavers, and angular joint sand is swept in and compacted, then topped up. Pavers installed this way lock into one surface.
- Check the water. Before the crew leaves, confirm the cross slope, the drains and the discharge path with a hose test.
When Does a Sloped Driveway Need a Retaining Wall?
Sometimes the driveway is not the only thing holding back the hill. If the lot drops away beside the pavement, or the driveway is cut into a slope, the soil itself needs holding back.
A retaining structure can carry the soil so the pavement only has to carry the cars. A wall belongs in the conversation when the driveway edge has a steep drop below it, when a cut bank rises beside it or when existing walls lean or crack.
Retaining walls are their own discipline, and taller walls typically need permits and engineered design. The key point is coordination: wall drainage must not dump into the driveway base, and the driveway restraints must not hang off the wall. One designer should own both details.

What Drives the Cost of a Sloped Driveway Installation?
Slope adds cost in specific, explainable places rather than in one mysterious surcharge. Understanding the factors helps you compare quotes line by line:
- Excavation and soil work. Steep sites often need deeper digging, soil export or replacement of weak ground, and every extra cubic yard costs.
- Access. Tight hillside lots may force smaller equipment and hand carrying, which slows the crew down.
- Drainage hardware. Channel drains, catch basins, pipe and discharge work add material and labor.
- Restraints and beams. Poured concrete curbs, the toe beam and any transverse beams are real line items on a slope.
- Engineering and permits. Steep or hillside jobs may need a soils report, engineered drawings and extra city review.
- Pattern labor. Herringbone at 45 degrees means more cuts at the edges, and cuts take time.
A trustworthy quote names these items instead of hiding them. If one bid is dramatically cheaper, ask which lines it left out.
Permits and Local Rules in Pasadena
Rules split into two zones: your private lot and the public right-of-way. On your lot, new paving, grading, drainage changes and retaining structures can each trigger review, and hillside areas draw closer scrutiny over erosion and runoff. There is no universal rule, so the honest answer is to ask the city before work starts.
Common Failures and Maintenance on Sloped Driveways
The Failures That Show Up First
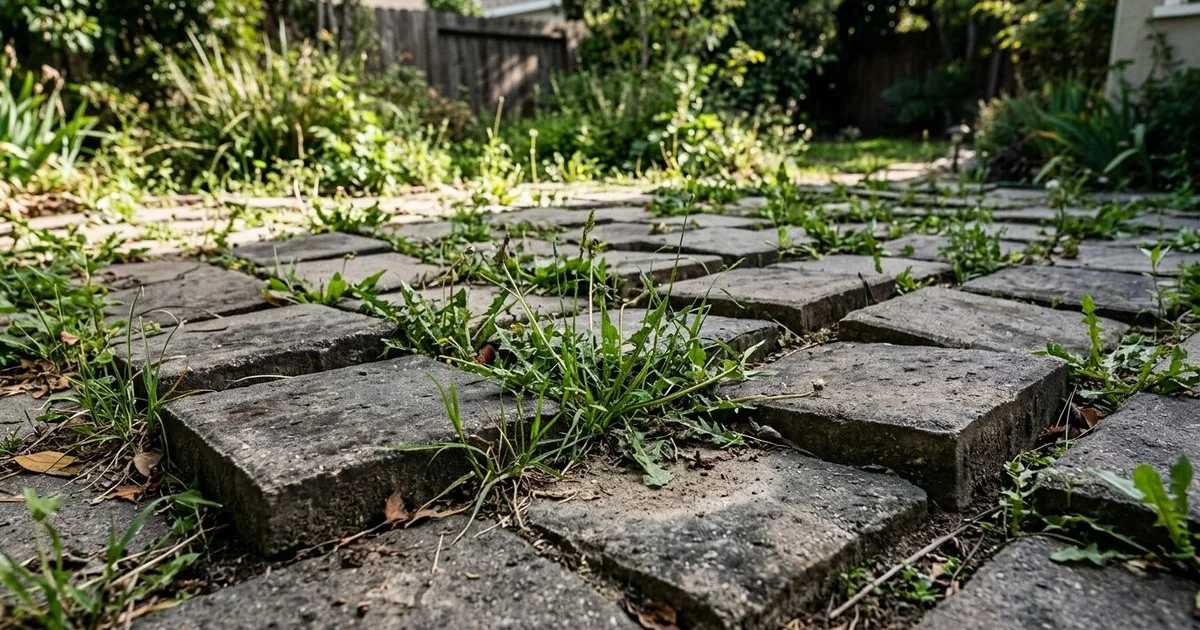
Almost every failed sloped driveway traces back to a short list. Poor compaction lets wheel tracks settle into ruts. A missing or weak toe restraint lets the whole field creep toward the street, often opening a gap at the top of the pavement first.
Water left inside the base softens it, and the first heavy storm finishes the job. Joint sand lost to runoff leaves pavers loose and noisy. The wrong pattern or an undersized restraint removes the safety margin the design counted on.
Watch the top of the slope most of all; performance problems appear there first. Trade guidance notes that repeated tire forces cause minor settlement and horizontal creep.
The damage shows up first at the top of the pavement and around protrusions like utility covers, so new work deserves checking over its first months. A small gap refilled with joint sand today is a cheap fix; the same gap next year is a relay job.
A Simple Maintenance Routine
Twice a year, and after big storms, walk the driveway. Look for joint sand loss, pavers that rock or click, settled spots, creeping gaps and any place water ponds or escapes the edge.
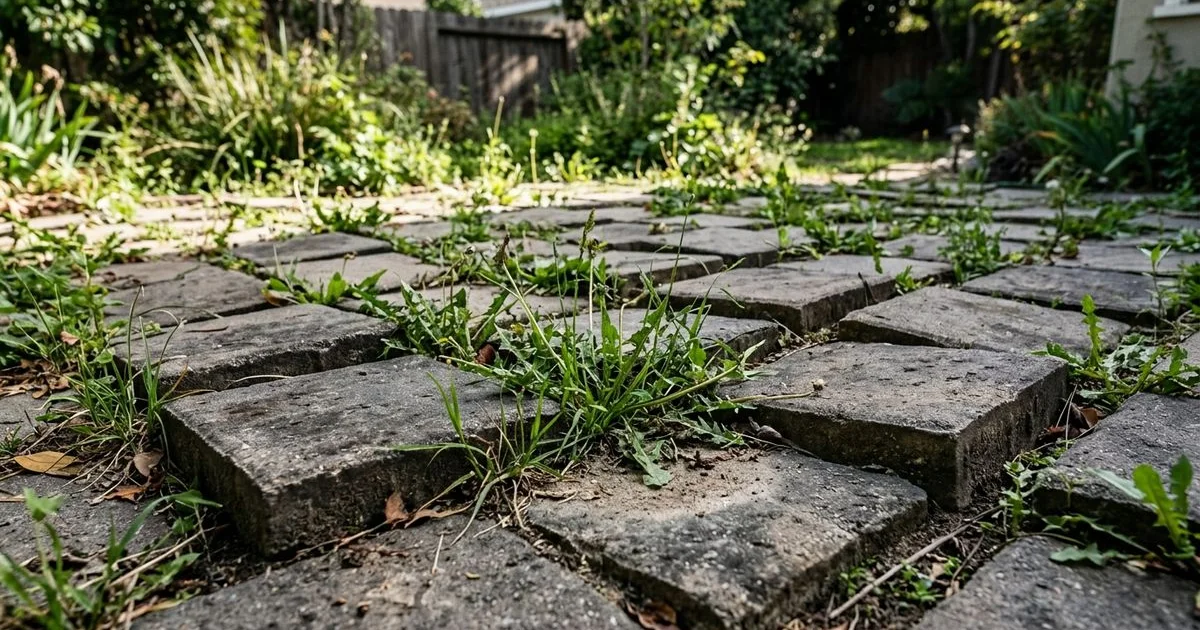
Clear channel drain grates and swales so water keeps its designed path. Refill joints with angular sand, and address erosion at the edges before it reaches the base. None of this needs special tools, but all of it needs to happen early.
DIY Planning vs Professional Installation
Homeowners can genuinely own the planning phase. You can measure the grade, photograph the site after rain, map where the water goes and prepare a sharp list of questions. That homework makes every professional conversation faster and every quote more comparable.
The construction phase is different. Excavation on a slope, verified compaction, poured restraints and drainage design all sit firmly in professional territory, because the failure modes are slow, hidden and expensive. That is why paver driveway installation on a slope belongs to crews who do it every week.
A licensed paver driveway contractor brings the equipment, the experience and the warranty. For hillside work in Southern California, professional paver driveway installation services are the difference between a driveway that shrugs off winter storms and one that needs rebuilding. When you collect quotes, ask each bidder the same questions: How deep is the base? What is the compaction spec? What restrains the downhill edge? Where does the water go? The answers will rank the bids.
Paver Driveway Installation on a Slope: FAQ
Can you put pavers on a steep driveway?
Yes, within reason. Paver driveway installation on a slope succeeds when the design respects the grade.
Interlocking concrete pavers perform well on grades when the base, restraint and drainage are designed for the slope. Trade guidance notes that slopes above roughly 7 percent need careful design and construction details, and very steep sites need an engineer. Some driveways are simply too steep for any pavement, and a site assessment will tell you honestly.
What is the maximum slope for a paver driveway?
There is no universal maximum. Limits come from your local code, your vehicles and your site, and the authority having jurisdiction decides what is permitted. Industry literature shows interlocking pavements on surprisingly steep streets, but those are engineered projects, not weekend jobs.
What is the best paver pattern for a sloped driveway?
Herringbone, laid at 45 or 90 degrees, installed tight. It gives the strongest interlock against braking and turning forces, and industry guidance recommends it for steep slopes while advising against running bond and random patterns.
Do pavers slide downhill over time?
A properly restrained pavement does not slide, but it can creep: a slow downhill drift that shows up first as small gaps at the top of the slope. A solid concrete toe restraint, tight joints and full interlock prevent it.
Are permeable pavers a good idea on a slope?
Sometimes, with specialist design. On a grade, water entering the pavement travels downhill inside the base and needs terracing or underdrains.
On milder slopes with the right sub-base, permeable paving earns its keep by reducing runoff. Permeability is a drainage tool, not restraint.
Can you install pavers over a sloped concrete driveway?
Overlaying sound concrete slabs is possible in some cases, but the old slab must be stable, crack-free and well-drained. The extra height also has to work at the garage and street. On slopes, water trapped between slab and pavers is a real risk, so many contractors prefer removal and a fresh engineered base.
How thick should pavers be for a sloped driveway?
Vehicle work calls for concrete pavers at least 60 mm thick, about 2-3/8 inches, made to ASTM C936. Thicker 80 mm units are common where loads or slopes are demanding. Never use thin patio or walkway units under vehicles.
Does a sloped paver driveway need special drainage?
Yes. Plan a cross slope to shed water sideways, intercept concentrated flow with a channel drain or swale and give every drop a safe, legal discharge point. Drainage is not an add-on for a slope; it is half the design.
How long does a sloped paver driveway last?
No honest contractor guarantees a number of years, because lifespan depends on design, construction, soil and maintenance. What is fair to say: a well-built, maintained paver driveway is repairable unit by unit, so small problems stay small.
The Bottom Line
A slope does not rule out pavers; it rules out shortcuts. Measure the grade honestly, respect the forces gravity and braking add, build the foundation in compacted lifts and give the pavement a concrete toe to lean on. Send the water where you want it, choose herringbone over weaker patterns and maintain the joints before small gaps become big ones.
Do those things, and paver driveway installation on a slope delivers what hillside homeowners actually want. The driveway grips when it rains, drains when it pours and stays put for the long haul.
If your lot is steep, start with the site assessment and ask the restraint and drainage questions. The answers will show a straightforward build or an engineered one.

Sources and References
- Mason Contractors Association of America: Installation of Concrete Pavers on Steep Slopes supports the design-attention threshold above roughly 7 percent grade, the 98 percent standard Proctor subgrade specification and the downhill concrete header beam dimensions. It also supports the herringbone pattern guidance, the 2 percent cross slope, laying uphill from the toe and the creep monitoring advice.
- Concrete Masonry & Hardscapes Association, PAV-TEC-009 guide specification supports the compacted base construction, bedding sand layer, edge restraint and vehicle-rated paver thickness guidance for residential driveways.
- US EPA: Permeable Pavements BMP fact sheet supports the description of permeable interlocking pavement as green infrastructure that reduces stormwater runoff.
- City of Pasadena: Public Works Permitting supports the statement that work in the public right-of-way, including driveway approaches and curb work, requires a city permit.
- Call 811: Before You Dig supports the free national utility-marking process described in the site assessment section.
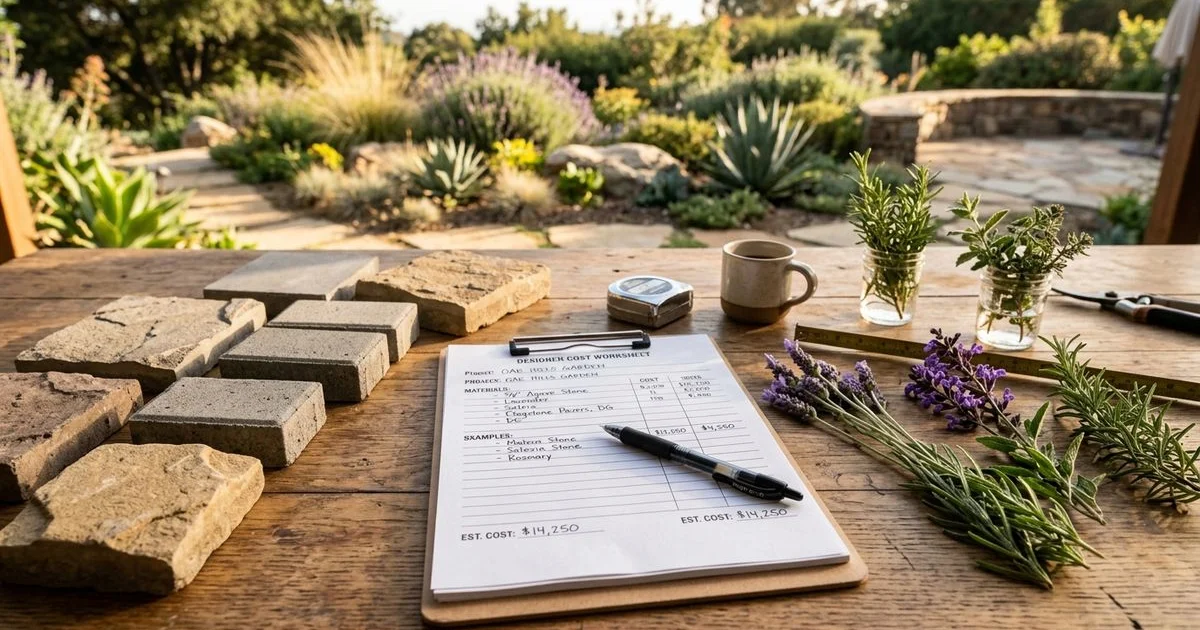
A free on-site consultation, a phased budget tier, and a master plan that fits your property and your goals.